Spaetzel with Fresh Herbs

Every time I enter a Sur la Table, Williams-Sonoma, or any establishment that sells kitchen equipment I fantasize about buying one of everything. Sadly, my small kitchen is almost at full capacity and I can hardly open a cupboard or drawer without various cooking and baking gadgets falling out. And then you factor in that I really can’t afford one of everything (or even one of 1/100 of everything [if that]) and I realize improvising is not only fun, but also economical. I remember the days before even having a rolling pin when I just used a red wine bottle. A good home cook should be able to substitute ingredients or devices as needed.
But that’s not to say I don’t have one or two single-use gadgets that vastly improve my life. And even though I so rarely use some of them I smile when I dust them off, as I know they make cooking so much easier.
Before embarking on the adventure of making spaetzel I tried to read almost every review on zee interwebz. I not only wanted a tasty spaetzel, I also wanted an easy method. Long before a spaetzel maker was invented, people made do without. If millions of people could do it without a device I figured I could, but I quickly realized I had no desire trying to press gooey dough through a strainer over steamy, boiling water. So, I headed to my local cooking store and bought a single-use device for a very reasonable price.

If you feel like improvising and using a colander, DO IT! Use a colander with holes about 1/4 of an inch wide and using a flexible spatula, press the spaetzel dough (or is it batter?) through the holes. But really, I promise a spaetzel maker is way easier and pretty cheap.
Spaetzel with Fresh Herbs
Adapted from Wolfgang Puck
After searching high and low for a spaetzel recipe, I finally stumbled across one from Wolfgang Puck. While I was underwhelmed after visits to three of his restaurants (I’m sure they would have been 5 star experiences had he actually been in the kitchen making my food), I couldn’t think of a better recipe source. And he (and his recipe) definitely didn’t disappoint. They managed to be light but had a bit of bite and chew left in them.
- 4 egg yolks
- 1 egg
- 1 3/4 cups milk
- 1 pound all purpose flour (I use the “spoon and sweep” method of measuring flour and found it equaled 3 cups plus 2.5 tablespoons)
- 1/4 teaspoon freshly grated nutmeg
- 1 teaspoon salt
- 1/4 teaspoon freshly ground pepper
- 1/4 cup plus healthy drizzle olive oil
- Salt Pepper, to taste
- 2 1/2 tablespoons unsalted butter
- 2 tablespoons fresh minced parsley
- 2 tablespoons fresh minced dill
In a small bowl, beat the egg yolks, egg, and milk together.
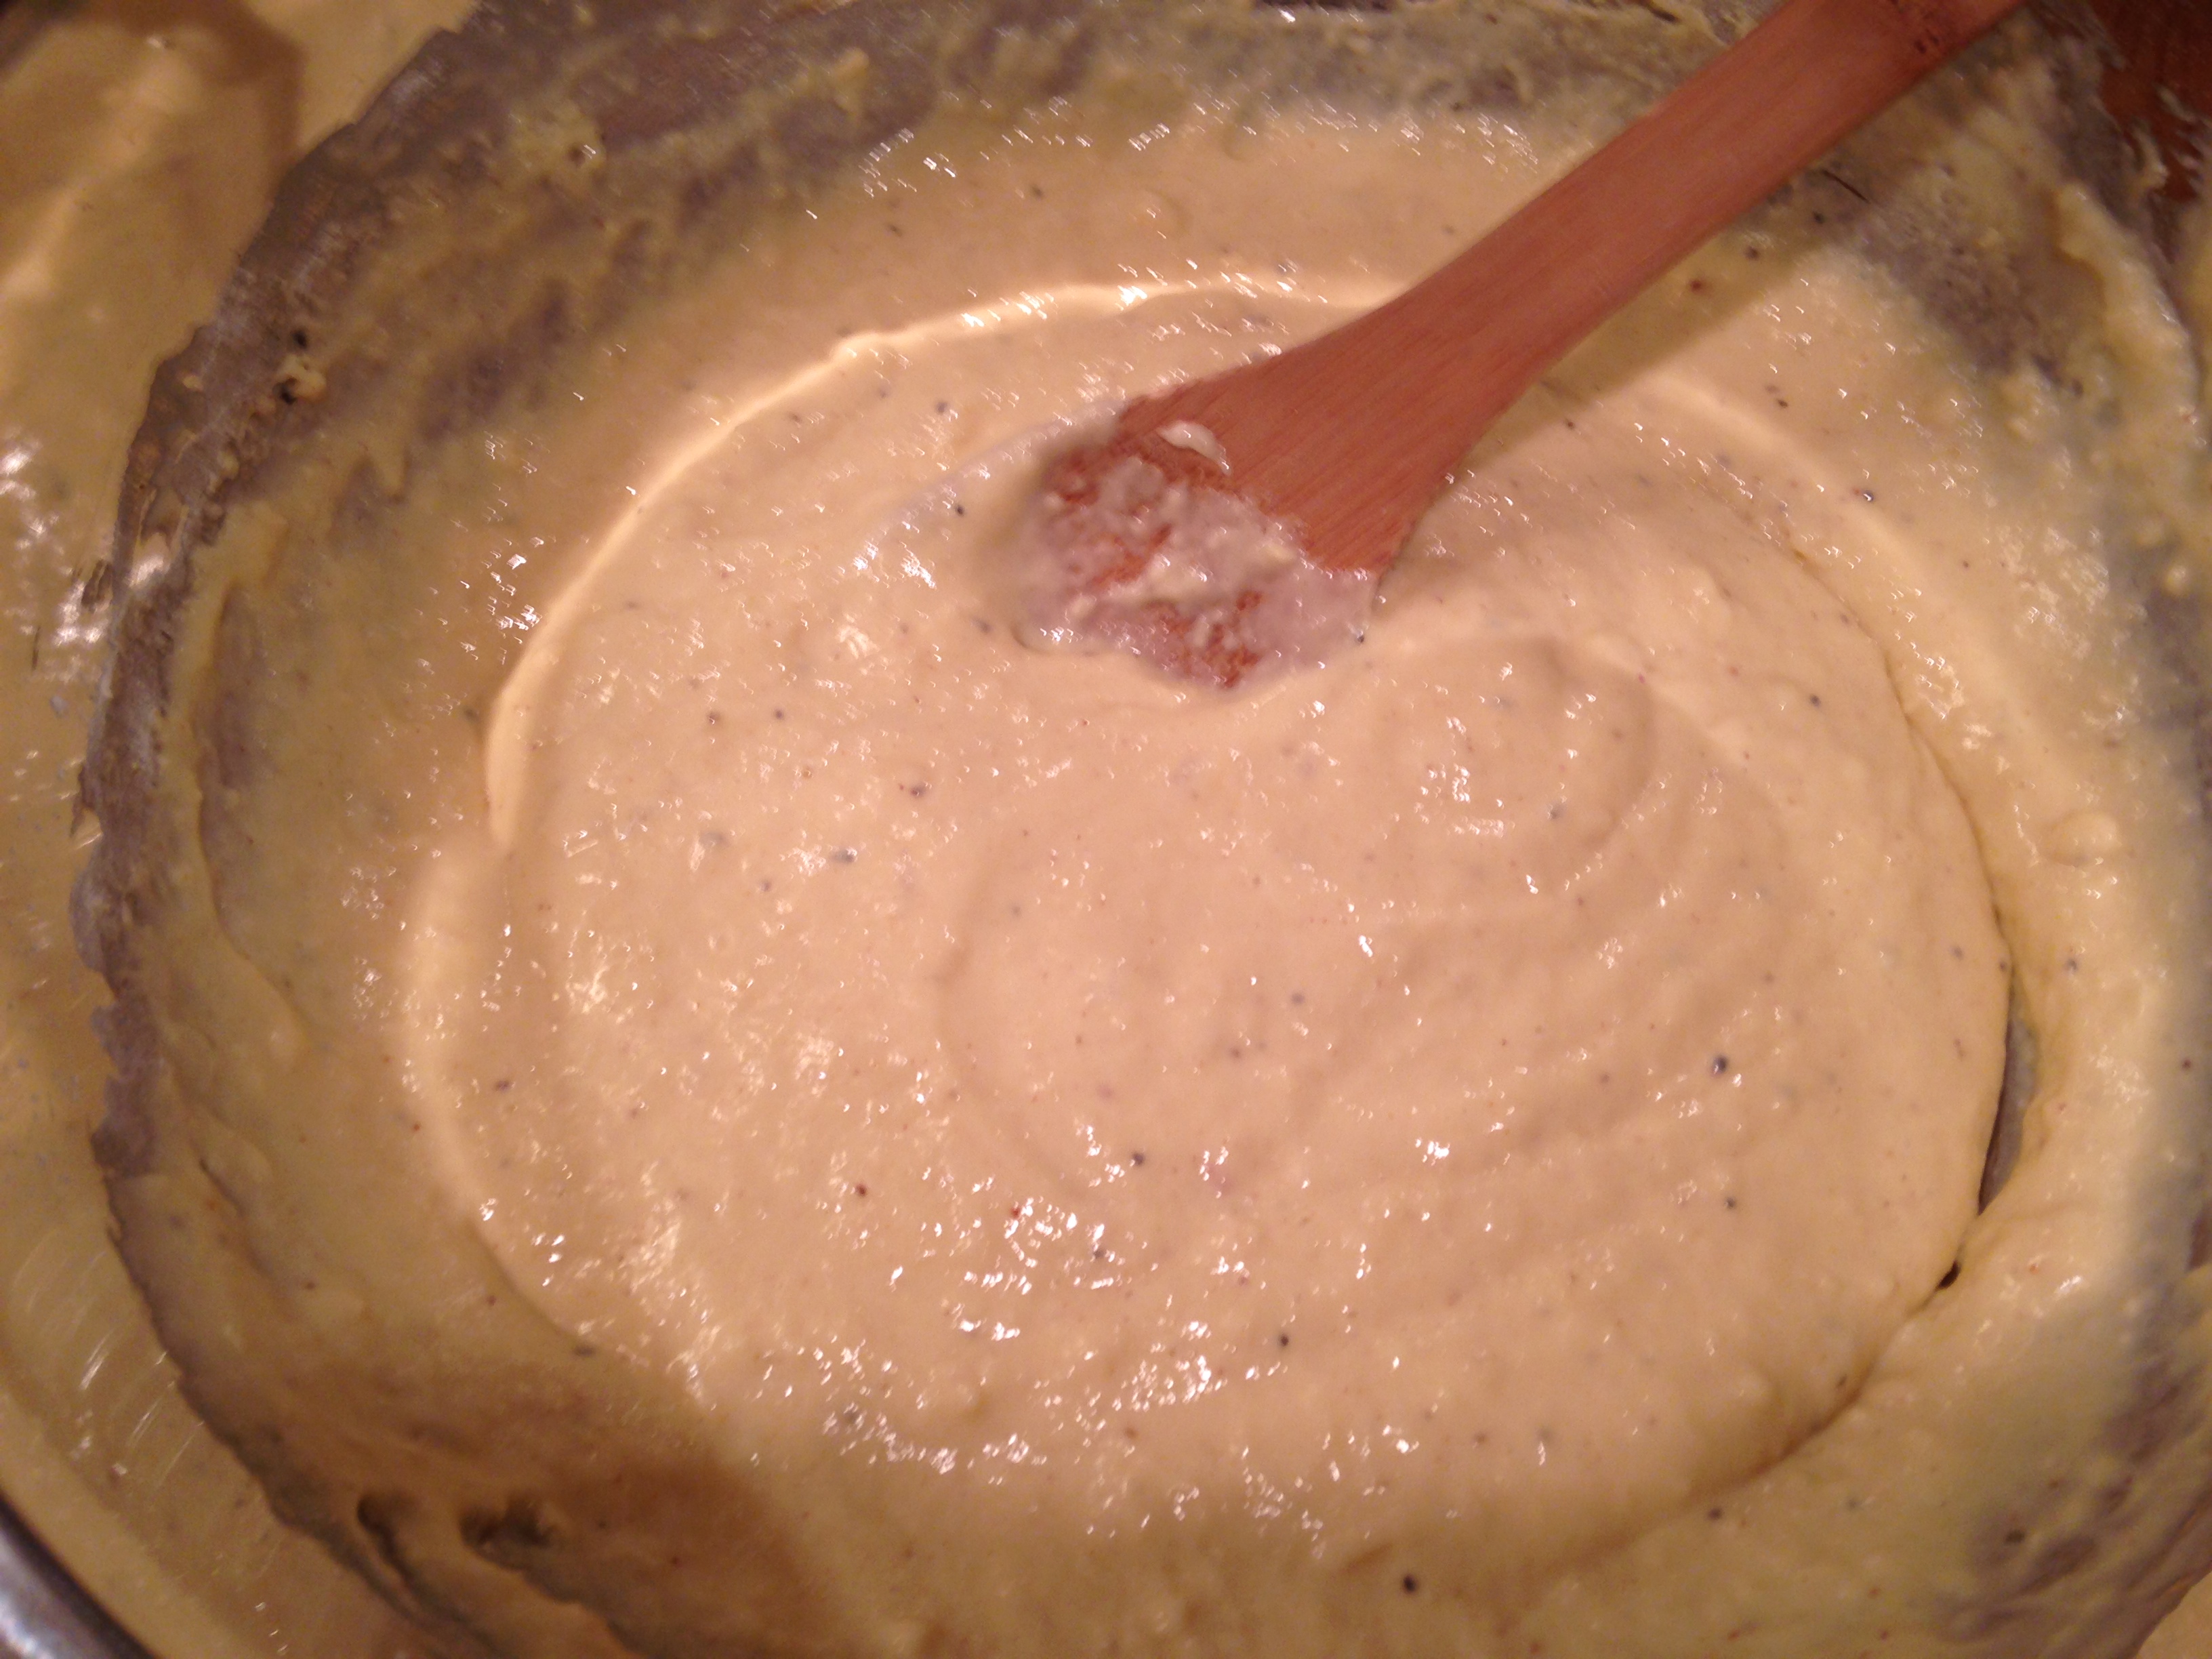
In a medium bowl, combine the flour, nutmeg, salt, and pepper. Add the egg mixture to the flour mixture and mix until blended. Do not over mix at this stage. Cover the bowl and refrigerate. Allow the batter to rest for at least 1 hour (or overnight).

Bring salted water to a boil in a large pan.
Using a spaetzel maker (or other method), press spaetzel batter into boiling water. Cook for approximately 3 minutes (it helps to cook in batches, to ensure spaetzel doesn’t stick).
Transfer cooked spaetzle to a bowl of ice water to shock. When cool to the touch, drain well. Stir in a healthy drizzle of olive oil (about 1 1/2 – 2 tablespoons). (At this point you can cover and refrigerate up to 2 days) <–Those were Wolfgang’s directions. I found that on day 2 the spaetzel was more gummy, but still fine. I would recommend cooking the same day.
When ready to serve, heat a scant 1/4 cup of olive oil in a large sauté pan over medium-high heat. Once oil is hot, add the spaetzel but DO NOT stir for 2-3 minutes. You want the spaetzel to slightly brown. After a few minutes, stir in the unsalted butter. Continue to cook for a few more minutes until thoroughly heated and lightly browned. Remove from heat, season with salt and pepper to taste, and sprinkle with freshly chopped herbs. Serve immediately.

Carbonnades à la Flamande (Beef and Onions Braised in Beer [aka a Reason to Love Fall])

I have a love/hate relationship with the end of summer. As someone that went to college in Southern California, I hate to see the end of the occasional heat and sun Seattle gets in July, August, and September. It’s a sad day when I go outside in my shorts and flip flops and come close to freezing. I especially dislike waking up when it’s still pitch black and it’s never fun seeing the sun set earlier and earlier each night. End of September and early October is probably the time of year I dislike the most since it’s no longer summer but not quite fall.
But then in mid October I begin to love the change of seasons. Anything pumpkin flavored makes me happy, the leaves on trees change color, and Seattle experiences some truly crazy weather! When it’s not gloomy or rainy, I think Seattle has the most gorgeous weather and I quickly remember why I live in Seattle: it’s simply stunning.

Then you factor in all the fun fall activities: drinking hot chocolate by the fire (btw, does anyone have a fire I can drink hot chocolate in front of?), pumpkin carving, corn mazes, and ridiculous Halloween costumes…

And of course, braised meats. I find rib sticking, hearty, booze-braised foods some of the most comforting things to eat. While eating a boeuf bourguignon or braised short rib on an 80-degree day will still be tasty, it’s so much better when the weather is cool and crisp (and really, who wants their oven on when it’s sunny and warm outside).
Carbonnades à la Flamande (from Mastering the Art of French Cooking) is one of my favorite braised meat dishes. It’s comforting and filling without being excessively heavy. While many braised meat dishes call for wine, the use of beer gives it a decidedly different taste. Julia Childs recommends a light Pilsner (which is what I use), but there are other recipe variations (including one from the New York Times circa the 1950s) out there that call for heavier ales.
Beef and Onions Braised in Beer
- 3 pounds lean beef chuck, sliced into large chunks
- 2 tablespoons olive oil
- 6 cups sliced onions (roughly 1.5 pounds)
- Salt and pepper
- 4 cloves finely minced garlic
- 1 cup beef broth
- 3 cups of light beer (Pilsner)
- 2 tablespoons brown sugar
- 1/4 cup minced Italian flat leaf parsley
- 1 dried bay leaf
- 1/4 teaspoon dried thyme (feel free to use 1/2 teaspoon minced, fresh thyme if you have it on hand)
- 1 1/2 tablespoons corn starch
- 2 tablespoons red wine vinegar
Preheat oven to 325 degrees.
Cut beef into chunks and pat dry with a paper towel (dry meat browns better).
In a French oven (a Le Creuset or Staub are perfect but any pan that can be covered and go from stove top to oven works), heat up the olive oil on medium-high heat. Place beef in a single layer and brown (don’t overcrowd). Once the beef has browned on all sides (in batches, if necessary), remove the beef, lower heat to medium, and add the onions, and about 1 teaspoon salt and 1/2 teaspoon pepper. Cook for 10-15 minutes until onions have lightly caramelized.
Add garlic and browned beef and stir slightly until mixed. Sprinkle in an additional 1 1/2 teaspoons of salt and 1/2 teaspoon of pepper. Pour in beef broth and beer and stir, being sure to scrape up any browned bits on the bottom of the pan (they have so much flavor!). Add brown sugar, parsley, bay leaf, and thyme. Bring to simmer, cover, and place in preheated oven for 2 to 3 hours (the longer it cooks the more tender it gets).
Once beef is fork tender, remove from oven. Drain the cooking liquid into a saucepan, set aside beef and onions. Bring broth/beer mixture to a simmer. In a small bowl, mix cornstarch and vinegar into a paste. Stir into the broth/beer mixture and simmer for a few minutes until thickened. Be sure to taste for seasoning and add additional salt and pepper as needed. Stir in the beef/onion mixture and serve.
This is best with buttered noodles (my personal favorite) or diced, boiled potatoes. If desired, finish off with a sprinkling of freshly chopped parsley and get ready to enjoy a delicious meal!

Okay… one last crazy weather photo:

Spiced Carrot Cake with Brown Butter Frosting

Last week I was talking to a coworker about food likes and dislikes and it got me thinking about all of the crazy freaks out there and their aversion to certain foods. Can you believe some people don’t like octopus or century egg? Or fork tender braised meats? Or geoduck? Or duck? I happen to love all of the above and it’s a complete mystery that some people have such odd food likes and dislikes and I highly doubt I’ll ever understand. But that’s all right, because there are a ton of things I don’t understand in life and I’m okay with that.
My personal food dislikes include:
- Anything cherry flavored (fresh cherries are divine, but anything that’s aimed to taste like cherry reminds me of cough medicine)
- Cilantro (I think it tastes like soap and I use it sparingly in any recipe that calls for it)
- Ketchup
- Yellow Mustard
- Raisins
The odd thing about my dislike of raisins is that I absolutely love dried fruit and I love grapes. It would be a logical assumption that I would like raisins, but I think they’re vile (also, keep in mind no one accuses me of being logical on a daily basis).
Any time I see raisins in a recipe I cringe a bit then quickly reach for dried cranberries. See, I absolutely love dried cranberries. I love the slight tartness, the hint of sweetness, and the chewy texture. I add them to far too many things and I think they’re a fantastic substitute to anything that requires raisins.
Since raisins are so often found in carrot cake and the rest of the world doesn’t feel the need to substitute them with dried cranberries, I decided to take matters into my own hands and make my own carrot cake. And I have to say it was one of the best carrot cakes I’ve ever had. The cake itself had amazing texture and flavor but the truly remarkable aspect of the cake was the frosting: browned butter & cream cheese. I love the nutty flavor butter gets when it’s browned and when combined with cream cheese, powdered sugar, vanilla, and salt, the nutty flavor just popped even more and really elevated a simple cream cheese frosting. I cannot recommend it enough and I think it is truly essential for any carrot cake.
Carrot Cake
Baked good are always best the day they’re made, but I find carrot cake keeps well in the fridge. Even on day 2 it was quite tasty.
- 2 cups all purpose flour
- 1 teaspoon baking soda
- 1 teaspoon baking powder
- 1 teaspoon salt
- 2 teaspoons ground cinnamon
- 1 teaspoon ground nutmeg
- 1/2 teaspoon cloves
- Pinch of fine black pepper
- 1 teaspoon ground ginger
- 1 3/4 cups sugar
- 1 1/4 cups vegetable oil
- 4 large eggs
- 3 cups finely grated peeled carrots (I grated mine by hand and managed to grate my knuckle… I’m sure the skin and blood enhanced the flavor [kidding])
- 1 cup finely chopped walnuts
- 3/4 cup dried cranberries

Preheat oven to 350°F.
Butter and flour two 9-inch cake pans, line with a circle of parchment and butter and flour parchment.
Sift together flour, baking soda, baking powder, salt, cinnamon, nutmeg, cloves, pepper, and ginger in medium bowl.
Whisk sugar and oil in large bowl until well blended, completely smooth, and relatively thick. Whisk in eggs 1 at a time, thoroughly mixing after each addition.
Add flour mixture and stir until barely blended. Fold in carrots, walnuts and dried cranberries.
Divide the batter evenly between the two prepared pans, and bake the layers for 35-40 minutes (rotate pans at 25 minutes to ensure even baking). Test for doneness at approximately 32 minutes. To test, insert a toothpick, skewer, or in my case (since I was out of both) a pairing knife. There should be just a few moist crumbles that stick to your testing apparatus. Let cakes cool in pan for approximately 15 minutes before removing from pans to cool completely. Frost and enjoy!

Brown Butter Cream Cheese Frosting
From The Dahlia Bakery Cookbook
- 1 cup unsalted butter
- 1 pound cream cheese, softened
- 1 cup powdered sugar, sifted
- 2 teaspoons good quality vanilla extract
- 1/2 teaspoon table salt
Put the butter in a small to medium size saucepan (the butter foams a bit, so make sure the pan is big enough) and cook over medium heat. It will become golden brown and aromatic approximately 3-5 minutes after it has entirely melted. Definitely keep a close eye on it as it has a tendency to rather quickly burn. Once it became golden brown I removed it from the pan to ensure it didn’t cook further. Let cool to room temperature. I browned the butter while the cake cooked and found that they were both completely cooled to room temperature at the same time (which will depend on the temperature of your kitchen, but probably an hour minimum).
Put the cream cheese, powdered sugar, vanilla, and salt into the bowl of an electric mixer (with the paddle attachment) and beat for 2 minutes on medium speed. Reduce speed to medium-low and slowly drizzle in the brown butter. Continue beating for 1 minute.
Then frost that delicious cake!


French Toast (aka Breakfast for Dinner)

I had one of the most amazing slices of carrot cake (complete with brown butter cream cheese frosting) for breakfast today. Call me crazy, but I’ve never been one for traditional breakfasts on your average weekday morning. Sometimes I’ll have leftovers from the night before… cold pizza is always a favorite of mine. And who doesn’t like pita and hummus at 6 a.m.? I do believe breakfast is an important way to start your day, but I rarely have the energy to make anything in the morning on the weekdays, which is why I tend to take the lazy route and grab whatever is in the fridge.
Since I so rarely have “normal” breakfast food on weekday mornings, I occasionally spend my days dreaming of waffles, eggs, benedict, and biscuits and gravy. As a result, it’s not that uncommon for me to whip up breakfast for dinner on a Monday or Tuesday night.
I’ve always thought of French toast as being one of the easiest breakfast items. Chances are everyone has the ingredients available: bread, eggs, half and half or milk, and some seasonings. Better yet, the bread is better when it’s old. Who doesn’t have a few pieces of old bread? While even the most basic French toast made with white sandwich bread and some eggs, milk, and sugar is tasty, there are so many ways you can elevate it to something remarkable. A smidge of orange zest, a pinch of cinnamon, a bit of nutmeg, a dash of vanilla, and a heaping spoonful of brown sugar makes for one darn tasty meal (be it breakfast, brunch, lunch, or dinner).
My go-to recipe is really simple to make. Within 15 minutes you’ll have a delicious meal in front of you and it’s incredibly easy to double, triple, or quadruple, depending on how many people you’re feeding.
… and a few slices of the thickest cut bacon will make it that much better.
French Toast
Feeds 2-4, depending on how hungry y’all are
- 4 thick slices of slightly stale challah or brioche (sliced about ¾ to an 1 inch thick, roughly half a loaf)
- 3 large eggs
- 1 cup half and half (milk works too, but half and half is much better)
- 1 teaspoon orange zest
- ½ teaspoon cinnamon
- ½ teaspoon nutmeg
- 1 lightly packed tablespoon brown sugar
- A hefty pinch of salt
- 1 tablespoon butter

Mix together eggs, half and half, orange zest, cinnamon, nutmeg, brown sugar, and salt in a wide, shallow bowl. Soak bread in the egg mixture for approximately 5 minutes.

Meanwhile, melt the butter in a large skillet over medium heat(I have one of those flat top, electric griddle thingys that I find so handy for French toast and pancakes).
Once bread has soaked in the egg mixture and the griddle is hot, cook bread for approximately 3-4 minutes per side, or until golden brown.
Lightly dust with powdered sugar and serve with jam or preserves (my personal favorite) or warmed maple syrup.


Recent Comments